Guests eat with their eyes first. A well-shot dish photo visibly increases how often that item gets ordered, while a dark or sloppy photo makes even your best plate look ordinary. The good news: you don't need expensive gear for professional-looking images. In this guide we walk through everything from light and angle to background and editing, so you can shoot appetizing menu photos with nothing but your phone.
Light: Where Everything Begins
The single most important factor in food photography is light. Natural daylight always wins: place the plate near a window and let the light come from the side. Side light reveals the texture and volume of the food. Avoid harsh overhead lamps, and especially the phone's flash — they create greasy highlights and hard shadows. If the shadows are too dark, bounce light back by placing a sheet of white paper or a napkin on the opposite side of the plate.
Angle and Composition
Not every dish looks good from the same angle. Choose the angle based on the food's structure: flat plates, burgers and layered desserts shine at a 45-degree angle, while pizza, bowls and scattered plating look best straight from above (top-down). For a tall cocktail or drink, pick an angle close to eye level. In composition, use the rule of thirds, leave a little breathing room around the plate, and put the focus on the most tempting detail of the dish.
A Practical Shooting Checklist
- Clean the lens: a smudged phone lens makes every photo soft and hazy.
- Shoot the food fresh: steam, gloss and color are most vivid in the first minutes.
- Move closer instead of zooming: digital zoom degrades quality — step in physically.
- Take several frames of the same dish: you can calmly pick the best later.
- Keep a consistent style: a whole menu shot with the same background and light looks professional.
Background, Editing and File Optimization
A simple background lets the food stand out: a wooden table, a plain plate or a neutral tray is enough. Remove distracting objects from the frame. After shooting, use a free phone app to nudge brightness and contrast up and fix white balance — don't overdo the colors, because a dish that looks different from reality disappoints guests. Finally, optimize the image for the web: crop to a square or vertical ratio and shrink the file. Light, sharp images uploaded to ROXQR keep your QR menu loading fast on phones.
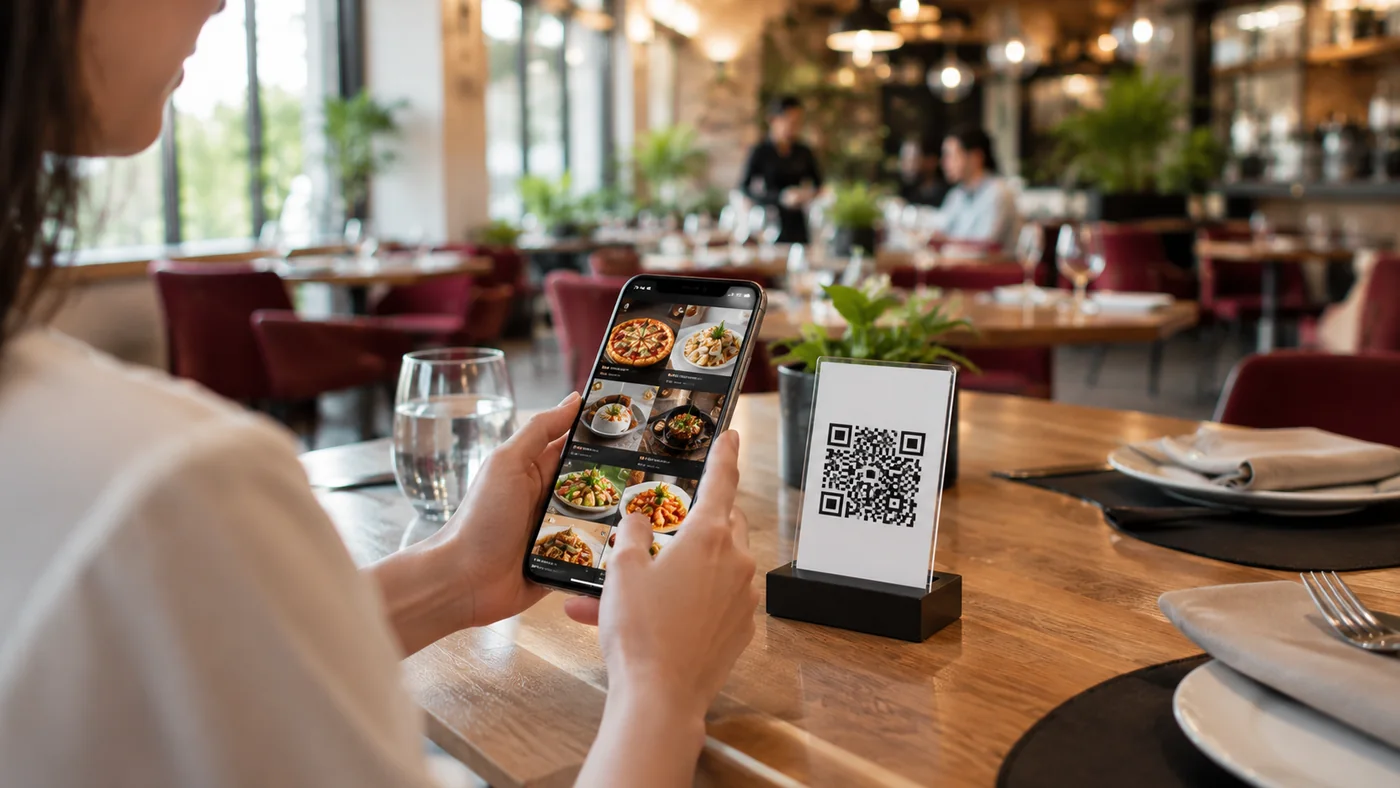
Bring Your Photos Into a ROXQR Menu
Great photos only pay off where guests actually see them. With ROXQR you add a photo to each item and publish a multilingual QR menu in minutes — no app to download, no installation; the guest scans the code and the menu opens straight in the browser. You can present every item with its appetizing image alongside allergen labels, and any price or description change appears instantly. If your photos are ready, get started now: explore our QR menu solution and try it free.