Creating a QR menu is far easier than most owners expect. You don't need expensive software, technical skills or a designer; you prepare your menu digitally, then download the generated QR code and place it on your tables. In this guide we show restaurant, cafe and bar owners how to build a QR menu from scratch step by step, what to watch out for, and how ROXQR brings the whole process down to minutes.
What You Need Before You Start
- Your current product list: categories, product names and prices.
- Product photos if possible: even clear phone shots work well.
- The languages you serve: you can offer the menu in multiple languages.
- Allergen details: clear on every item for guest trust and compliance.
Step by Step: Creating Your QR Menu
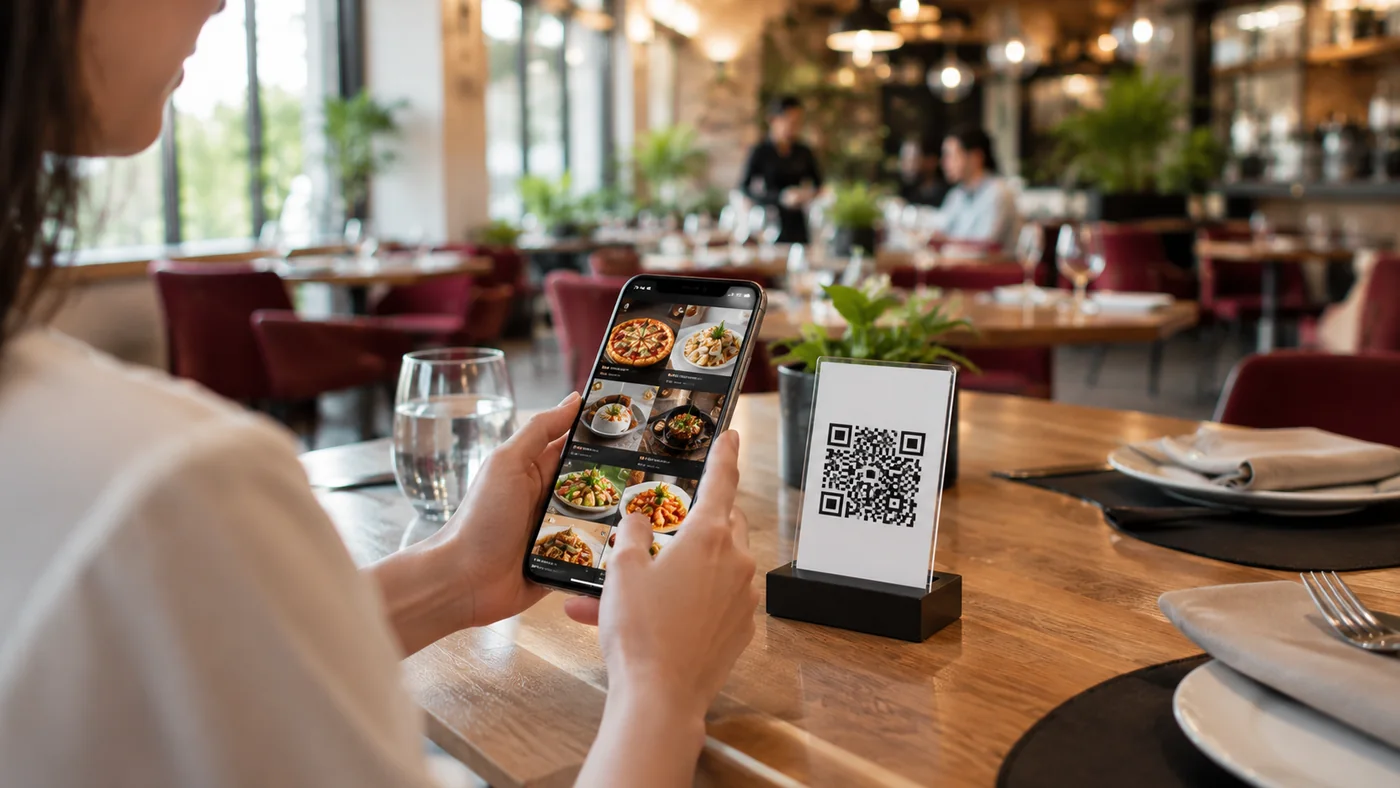
- Open an account: start a free trial at app.roxpos.com — no card required.
- Add categories: create main groups like "Starters", "Mains", "Drinks".
- Enter products: add each item's name, description, price, photo and allergens.
- Turn on languages: offer the menu in the languages you serve; guests pick their own.
- Download the QR code: the system generates a unique code to download as PDF or image.
- Place it on tables: print the code on a stand, sticker or menu card.
Final Checks Before Going Live
Before going live, scan the QR with your own phone and test it as a guest would: are categories in the right order, prices current, photos clear and language options working? Move popular items to the top and hide sold-out items with one tap. The biggest advantage of a QR menu is that you never reprint when something changes; updates go live instantly and the same QR code keeps working.
With ROXQR you complete all these steps from a single panel, with no app and no installation, in minutes. Multilingual menus, allergen labels and instant updates come built in. To get started, explore our QR menu solution, or if you want the basics first, read what is a QR menu.